NOTE: Unless otherwise specified, username refers to your HawkID and passphrase refers to your HawkID passphrase.
NOTE: This only works for mac's with a connection to the University of Iowa wired/wireless network.
WARNING: Do not create files or directories containing the following characters "/\*?<>" because Linux won't display them properly.
Mounting a new Network Drive
- In the Finder menu (Finder is at the top of your screen next to the Apple icon), choose "Connect to Server" in the "Go" menu.
- In the dialog that pops up, type the following in the "Server Address:" field, replacing <username> with your username.
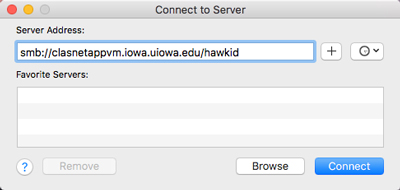
Faculty/Staff/Students: smb://clasnetappvm.iowa.uiowa.edu/<username>
For example, if your username is jdoe and you are faculty/staff, you would enter: smb://clasnetappvm.iowa.uiowa.edu/jdoe
You can use other share names in place of <username>.
Now, click the Connect button.
3. If the "SMB/CIFS Filesystem Authentication" dialog comes up, make sure the "Connect as:" check box is set to "Registered User", enter your HawkID@iowa.uiowa.edu for the "Name", and your HawkID passphrase for the "Password".
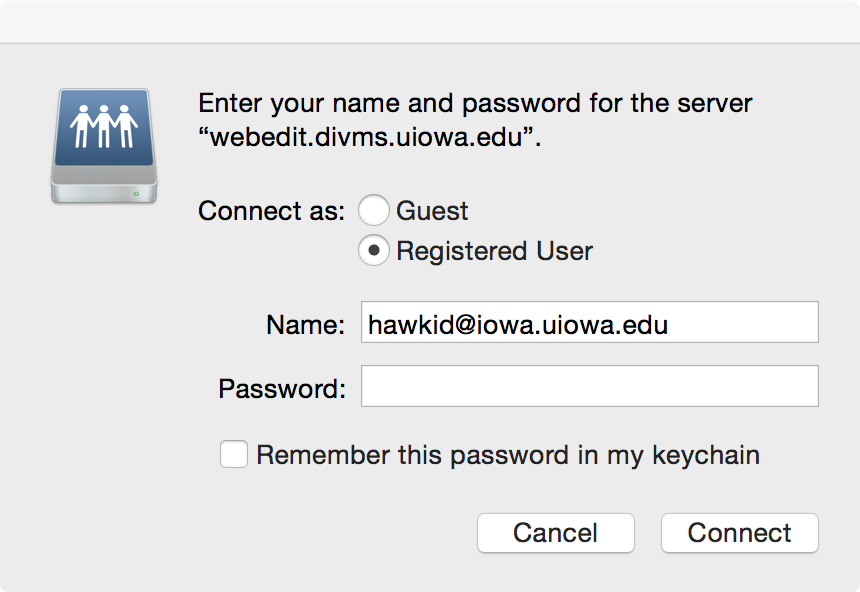
If you share the Mac OS X account with other users, be sure the "Remember this password in my Keychain" box is NOT checked.
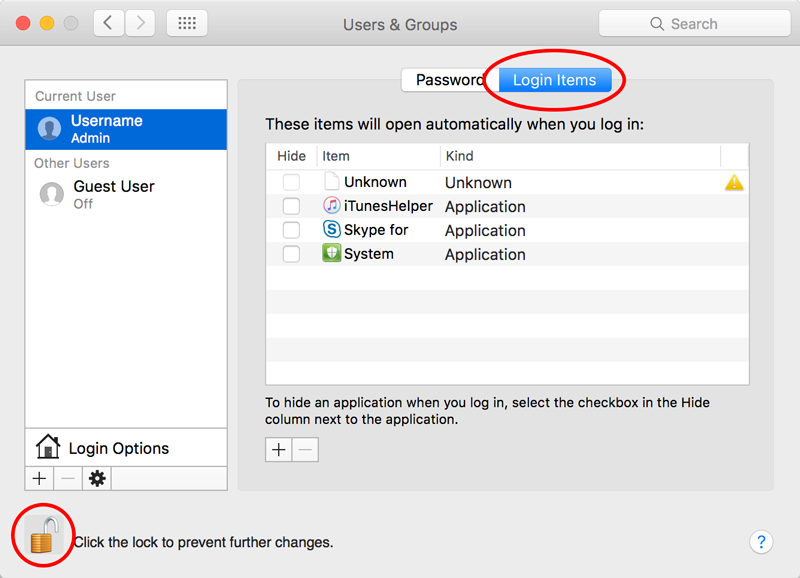
4. Now go to the Apple menu and select the menu Apple Menu > System Preferences. Under the "System" grouping, click on "Users & Groups" and then click on the "Login Items" tab next to the "Password" tab. Click the picture of the pad lock to unlock the "Login Items" window and enter your Mac admin passphrase as shown below when completed.
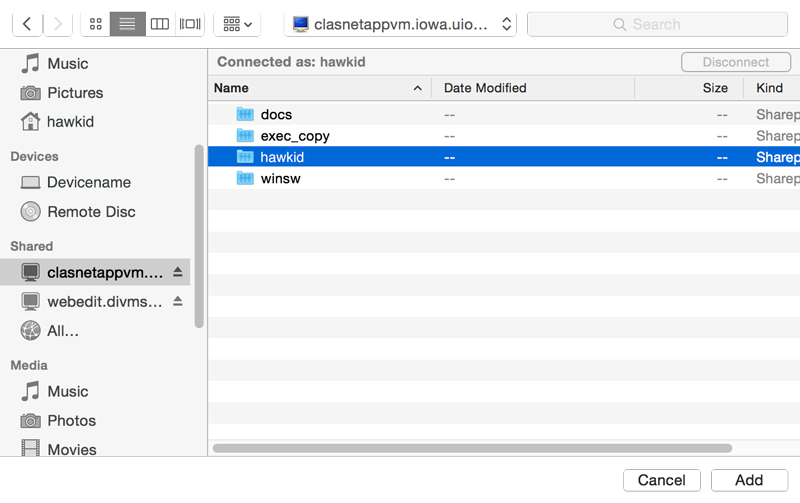
5. Click the "+" sign to add a persistent drive mount.
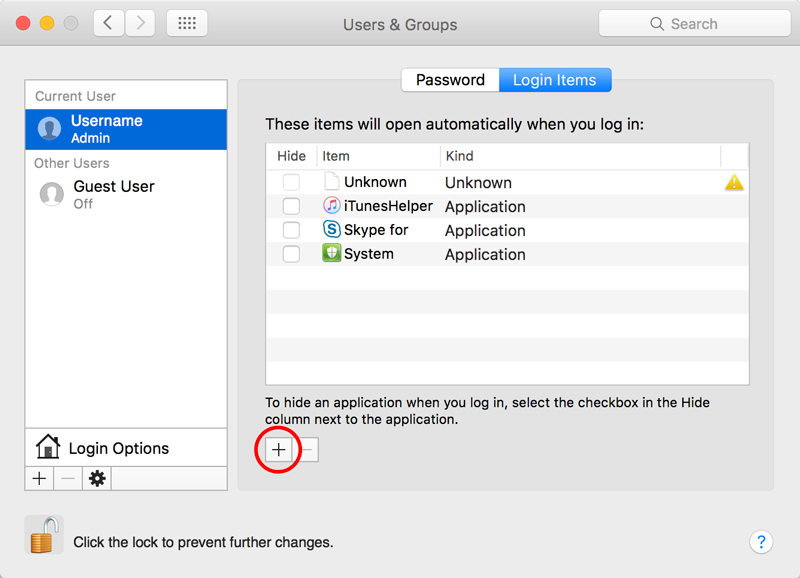
6. Navigate to your drive mapping under the "Shared" section and select the folder you want to persistently mount by clicking on the Add button.
You should now be able to logout or reboot your computer and have your CLAS Linux network file space mapping automatically connect to the CLAS Linux network share as defined above. Repeat steps 1-6 for additional shares.
Unmounting a Network Drive
- In Finder, select the network volume.
- Choose File > Eject to eject the mounted drive.