- The purpose of this service is for classes to be able to use Sonarqube to do code validation and review on their projects to help them form better coding habits. The process uses a gitlab-runner to checkout and scan the code from https://research-git.uiowa.edu, then upload the results to the sonarqube server.
Setting Up a Class
Prior to the Semester, the instructor should contact requst@divms.uiowa.edu and request a subgroup of clas-sonarqube be created for the class in research-git.uiowa.edu ( e.g. clas-sonarqube/cs-XXXX-20XX-Fall). The instructor will then be able to create subgroups (sonarqube/cs-XXXX-20XX-Fall/team_1) and assign members and permissions to that class. All of the git projects created under these subgroups will have access to the gitlab-runner provided by sonarqube. Everyone will need to log in to https://research-git.uiowa.edu at least once before permissions can be added.
Note: the projects and subgroups will be removed shortly after the end of the course.
Setting up a Sonarqube project
- Log into https://sonarqube.cs.uiowa.edu/ with your HawkID and password. NOTE: If you are off-campus, you will need to connect to the university VPN to access the sonarqube website.
- go to "projects tab" → "add project" → "manually"

- create a project key → "set up"
- press "continue"
2. The students using the gitlab-runner will need to have a subgroup of https://research-git.uiowa.edu/sonarqube created for them.
3. Each student needs to log in once to https://research-git.uiowa.edu/
4. Send a request to the instructor or TA to create your subgroup
a. The desired name of the subgroup to be created, and a list of the hawkids to be added as members of the subgroup.
b. The name of the instructor
c. The name of the course
- Go to groups and go to the subgroup provided by your instructor
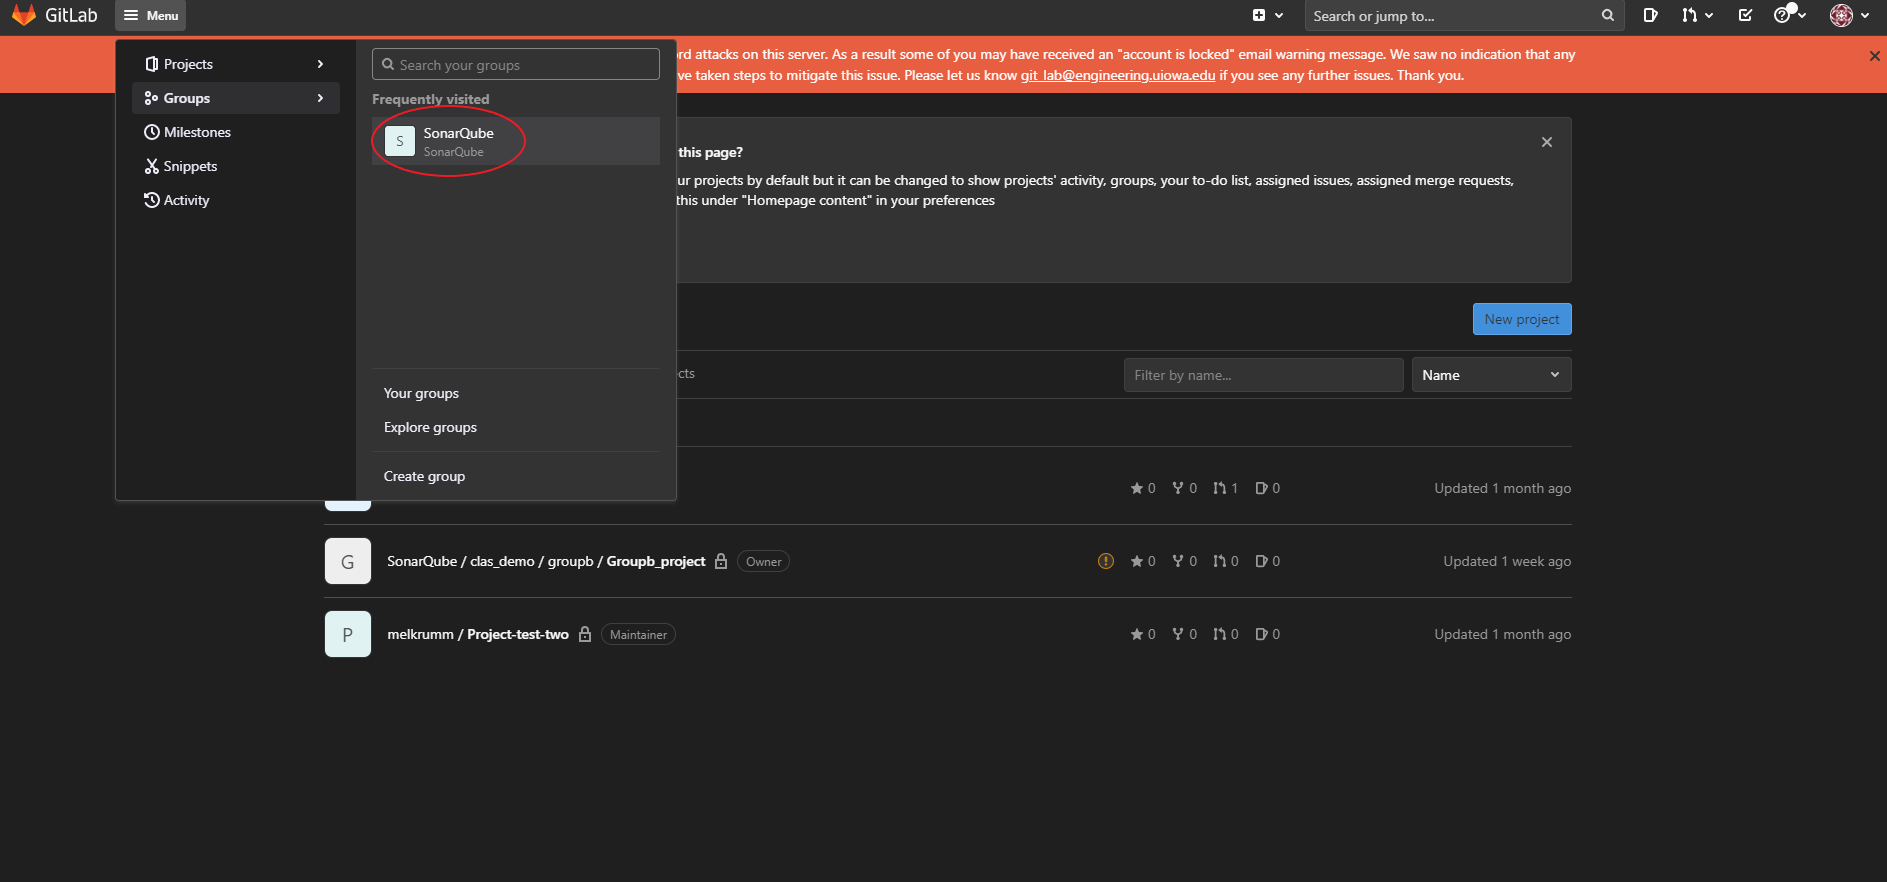
- Find your class or group number folder within sonarqube and click it
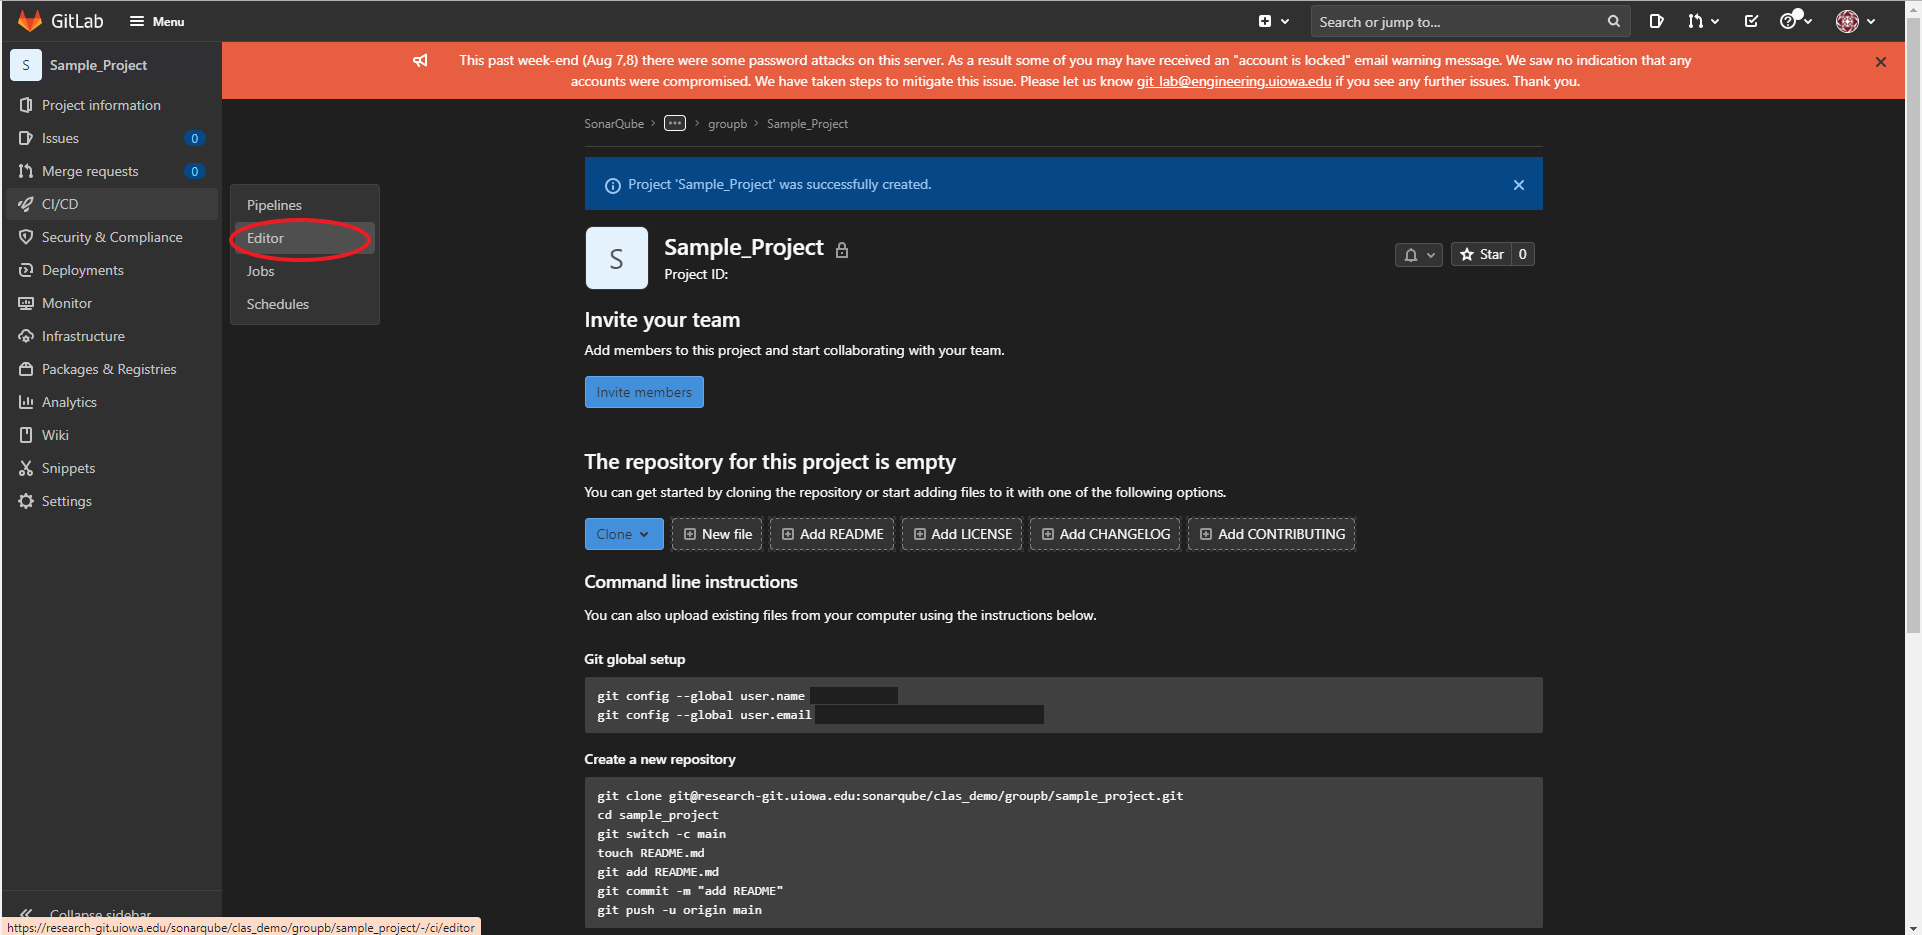
- Create "New Project"
- Click on the "CI/CD Configuration" → "Editor" → "Create new CI/CD pipeline" → delete the sample code and paste the following:
|
|
- Paste your sonarqube token in the code above where it says "<replace with your token>". Do not include the brackets.
- Set Target Branch to "main" or the name of your default branch
3. Create a file in your GitLab project named: sonar-projects.properties
|
|
- Paste your project key in the above file where it says "<your key here>"
4. Now any code you commit will go through the sonarqube service. To view your sonarqube results, go back to https://sonarqube.cs.uiowa.edu/ and look at your project.